
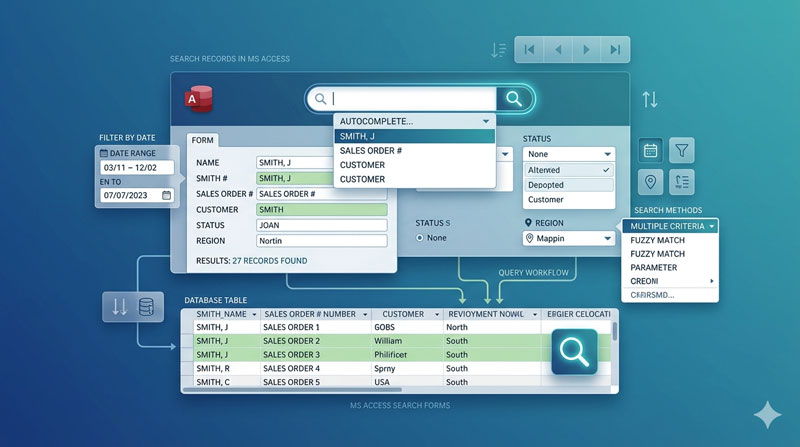
One of the most common things users need to do in a database is find a specific record. And while clicking through a form one record at a time works fine for a handful of rows, it falls apart the moment your database grows to hundreds or thousands of entries.
MS Access gives you multiple ways to build search functionality directly into your forms — without relying on the built-in Find dialog that most users never touch. This guide covers the four methods taught in the Skill Header tutorial, walking through each approach from the simplest to the most polished, with clear steps and VBA code included.
Why Build Search Into Your Form?
The default Access navigation — the small arrow buttons at the bottom of a form — is fine for casually exploring data. But when someone needs to pull up a specific employee, customer, or order, they shouldn’t have to scroll through every record to find it.
Building search controls directly into your form solves this cleanly. The user types a name, picks from a list, or clicks a button — and the form jumps straight to the matching record or filters down to exactly the results they need. It’s a small addition that makes a significant difference to how usable your database actually feels in practice.
Method 1: Combo Box Search Using the Wizard (No Code Required)
This is the fastest way to add a working search to any form — and it requires zero VBA code. Access has a built-in Combo Box option specifically designed for navigating to records.
How to set it up
- Open your form in Design View
- Make sure the form is set to Continuous Form view — so multiple records are visible at once (set this under the form’s Default View property)
- Click on the form header section — this is where the search control lives, sitting above the scrolling records below
- From the Form Design tab in the ribbon, select Combo Box and draw it in the header area
- The Combo Box Wizard opens — select “Find a record on my form based on the value I selected in my combo box” and click Next
- Choose the field you want to search by — a text field like Name, City, or Address works well here
- Leave the “Hide Key Column” option selected, give the combo box a label like Search by Name, and click Finish
Switch to Form View and try it out. Select any name from the drop-down list and the form navigates directly to that record. No button, no code, no extra steps.
Searching by typing — the bonus feature
Most people don’t realise this combo box also works as a type-ahead search. Instead of opening the drop-down, just start typing a name directly into the box. Access automatically narrows down the list as you type and jumps to the matching record when you make a selection.
This makes the whole thing work like a live search bar — which is exactly what most users expect from a modern interface.
Method 2: Advanced Combo Box with Auto-Open Drop-Down
The wizard combo box works well, but there’s one small friction point: users need to click the arrow to open the list before selecting from it. With a few lines of VBA, you can make the drop-down open automatically the moment a user starts typing — which feels smoother and more intuitive.
Making the drop-down open automatically
Select the combo box, open its Property Sheet, go to the Event tab, and click on the On Key Down event. Add this code:
vba
Private Sub Search1_KeyDown(KeyCode As Integer, Shift As Integer)
    Me.Search1.Dropdown
    Me.Search1.SetFocus
End Sub
Now as soon as the user presses any key in the combo box, the drop-down list opens automatically — showing all available options while they type. The list narrows as they continue, making it fast and easy to find the right record.
Replace Search1 with whatever name you’ve given your combo box.
Sorting the list alphabetically
By default, the combo box list shows records in whatever order they appear in the table — which is usually not alphabetical. To fix this:
- Select the combo box and open its Property Sheet
- In the Data tab, click on the Row Source field — a small Query Builder button appears on the right
- Click it to open the Query Builder
- Find the field used for the search (e.g. Name or City)
- Set its Sort row to Ascending
- Save and close the Query Builder
The list now always displays in alphabetical order — much easier to navigate and far more professional looking.
Method 3: Filtering by Fixed Category — Value List Combo Box
The first two methods are for searching through field values from your table — finding a specific person, city, or item. But sometimes you want to filter records by a fixed set of values that you define yourself — like showing only Male employees, or filtering by a specific department or status.
For this, you use a combo box with a Value List as the row source. The options are ones you type in manually, not pulled from the table.
How to set it up
- Add a new Combo Box to the form header (draw it in Design View the same way as before)
- In the Property Sheet, go to the Data tab
- Set Row Source Type to Value List
- In the Row Source field, type your fixed options separated by semicolons — for example:
Male;Female - Open the On After Update event of the combo box and add this VBA code:
vba
Private Sub Search3_AfterUpdate()
    Dim strGenderFind As String
    strGenderFind = "[Gender] = '" & Me.Search3 & "'"
    Me.Form.Filter = strGenderFind
    Me.Form.FilterOn = True
End Sub
When the user picks Male or Female from the drop-down, the form instantly filters to show only records matching that value. All other records are hidden until the filter is cleared.
This approach works for any fixed set of categories — status labels (Active/Inactive), departments, regions, priority levels, or any other field where the options are known in advance and don’t change.
Clearing the filter
To let users reset the form back to showing all records, add a separate button or include a blank or “All” option at the start of your Value List. Using a button, the clear code is simply:
vba
Private Sub CmdClear_Click()
    Me.Search3 = Null
    Me.Form.FilterOn = False
End Sub
Method 4: Option Group — A Cleaner Alternative
If your fixed value list has just a few options — like All, Male, and Female — there’s a cleaner alternative to the combo box: the Option Group. Instead of a drop-down, the user sees clearly labelled radio buttons directly on the form. There’s nothing to click open, nothing to scroll through, and every option is visible at a glance.
How to set it up
- In Design View, go to the Form Design tab and select Option Group
- Draw it on the form header
- The Option Group Wizard opens — enter your label names, for example: All, Male, Female
- Set All as the default so the form shows all records when it first opens
- Click through the wizard and finish
Now open the On Click event of the Option Group frame (not the individual buttons — the outer frame itself) and add this VBA code:
vba
Private Sub Search4_Click()
    Dim strGenderFind As String

    If Me.Search4 = 1 Then
        Me.Form.FilterOn = False
    ElseIf Me.Search4 = 2 Then
        strGenderFind = "[Gender] = 'Male'"
        Me.Form.Filter = strGenderFind
        Me.Form.FilterOn = True
    ElseIf Me.Search4 = 3 Then
        strGenderFind = "[Gender] = 'Female'"
        Me.Form.Filter = strGenderFind
        Me.Form.FilterOn = True
    End If
End Sub
Each radio button in the Option Group is assigned a number internally — 1, 2, 3 in the order you created them. The code checks which one was clicked and either clears the filter (option 1 = All) or applies the right filter for Male or Female.
The All option is essential — setting FilterOn = False removes the filter entirely and shows every record again. Without it, users have no way to get back to the full list once a filter is applied.
Why Option Group beats Combo Box for fixed values
The Option Group puts every choice in plain sight on the form. Users can see all available options at once and click directly on what they want — no drop-down to open, no list to scroll through. For small, fixed sets of categories, it’s simply more intuitive and more satisfying to use than a drop-down menu.
Which Method Should You Use?
Here’s a quick reference to help you pick the right approach for each situation:
| Method | Best For | Requires Code? |
|---|---|---|
| Combo Box Wizard | Finding a specific record by name, city, or any text field | No |
| Advanced Combo Box | Same as above, with auto-open drop-down and sorted list | Small amount |
| Value List Combo Box | Filtering by a fixed category (gender, status, department) | Yes |
| Option Group | Same as above, with visible radio-button style controls | Yes |
In most practical databases, you’ll use a combination of these on the same form — a Combo Box at the top for finding specific records by name, alongside an Option Group or value list filter for narrowing down by category. Together, these four methods cover almost every search scenario a typical database user will encounter.
What’s Coming in Part 2
Part 2 goes further — covering how to search by numeric values with Greater Than and Less Than filters, how to filter records between two dates, and how to handle number ranges using two-boundary input. Keep an eye out for the follow-up post.
Watch the full tutorial on YouTube: Multiple Ways to Search Records in MS Access Form Part 1 by Skill Header, and download the practice files at skillheader.com.